17 - 过滤图片
在上一步中,我们在图片网格上方的菜单栏添加了一个搜索框,使得基于查询字符串过滤图片成为可能。
回顾一下,我们的步骤分为两部分:
- 首先,我们在图片网格上方的菜单栏添加搜索框。
- 然后,我们更新应用的状态,根据搜索框中的查询内容过滤图片。
这一步,我们将更新应用的状态,实现根据搜索框查询过滤图片。
注意:如果你不想自己敲代码,可以在这里找到本步骤的完整代码:https://github.com/makepad/image_viewer/tree/main/step_17
更新 State 结构体
我们先从更新 State 结构体开始,加入我们需要的状态以便进行图片过滤。
在 app.rs 中,找到 State 结构体的定义,将其替换为下面的代码:
1#[derive(Debug)]
2pub struct State {
3    image_paths: Vec<PathBuf>,
4    filtered_image_idxs: Vec<usize>,
5    max_images_per_row: usize,
6    current_image_idx: Option<usize>,
7}
这段内容扩展了 State 结构体,增加了如下字段:
filtered_image_idxs:包含指向 image_paths 的索引列表。
这里的思路是增加一层间接引用。以前,我们直接遍历或索引 image_paths;现在,我们改为遍历或索引 filtered_image_idxs,然后用这些索引去访问 image_paths。这样我们就能定义一个过滤后的图片子集进行显示,同时保持原始图片列表不变。
注意:为了减少混淆,我们采用以下命名规范:
- 以前,
image_idx 指的是用于索引 image_paths 的索引。
- 现在,
image_idx 指的是用于索引 filtered_image_idxs 的索引。
- 我们使用
filtered_image_idx 来指代 filtered_image_idxs 中的索引,只有这些索引才能用于访问 image_paths。
更新 State 结构体的 Default Trait 实现
我们还需要更新 State 结构体的 Default trait 实现,以反映新增的字段。
在 app.rs 中,找到 State 结构体对应的 Default trait 实现,替换为下面的代码:
1impl Default for State {
2    fn default() -> Self {
3        Self {
4            image_paths: Vec::new(),
5            filtered_image_idxs: Vec::new(),
6            images_per_row: 4,
7            current_image_idx: None,
8        }
9    }
10}
更新 State 结构体的 num_images 方法
最后,我们需要更新 State 结构体的 num_images 方法,使其返回 filtered_image_idxs 中元素的数量(因为我们将绘制这些过滤后的图片数量)。
在 app.rs 中,找到 State 结构体的 num_images 方法定义,替换为下面的代码:
1fn num_images(&self) -> usize {
2        self.filtered_image_idx.len()
3    }
现在我们已经拥有了过滤图片所需的全部信息。
添加辅助方法
为了让后续代码更易编写,我们将为 App 结构体添加一些辅助函数,同时更新部分已有函数。
添加 filter_image_paths 方法
我们先定义一个 filter_image_paths 方法。该方法将根据查询字符串过滤图片路径列表。
在 app.rs 中,找到 App 结构体的 impl 块,添加以下代码:
1pub fn filter_image_paths(&mut self, cx: &mut Cx, query: &str) {
2        self.state.filtered_image_idxs.clear();
3        for (image_idx, image_path) in self.state.image_paths.iter().enumerate()
4        {
5            if image_path.to_str().unwrap().contains(&query) {
6                self.state.filtered_image_idxs.push(image_idx);
7            }
8        }
9        if self.state.filtered_image_idxs.is_empty() {
10            self.set_current_image(cx, None);
11        } else {
12            self.set_current_image(cx, Some(0));
13        }
14    }
filter_image_paths 方法的功能说明:
- 首先,它会清空
filtered_image_idxs 中已有的索引。
- 接着,它遍历所有的
image_paths。
- 对于每个路径:
- 检查该路径是否匹配查询字符串。
- 如果不匹配,则跳过该路径。
- 如果匹配,则将该路径的索引添加到
filtered_image_idxs 中。
更新 set_current_image 方法
接下来,我们需要更新 set_current_image 方法,使其针对过滤后的图片进行操作。
请在 app.rs 中,找到 App 结构体的 set_current_image 方法定义,替换为下面的代码:
1fn set_current_image(&mut self, cx: &mut Cx, image_idx: Option<usize>) {
2        self.state.current_image_idx = image_idx;
3
4        let image = self.ui.image(id!(slideshow.image));
5        if let Some(image_idx) = self.state.current_image_idx {
6            let filtered_image_idx = self.state.filtered_image_idxs[image_idx];
7            let image_path = &self.state.image_paths[filtered_image_idx];
8            image
9                .load_image_file_by_path_async(cx, &image_path)
10                .unwrap();
11        } else {
12            image
13                .load_image_dep_by_path(cx, self.placeholder.as_str())
14                .unwrap();
15        }
16        self.ui.redraw(cx);
17    }
这里唯一改变的部分是以下这段代码:
1let filtered_image_idx = self.state.filtered_image_idxs[image_idx];
2    let image_path = &self.state.image_paths[filtered_image_idx];
3    image
4        .load_image_file_by_path_async(cx, &image_path)
5        .unwrap();
这段代码的作用是:
- 使用当前图片索引(
image_idx)获取对应的过滤后图片索引(filtered_image_idx)。
- 使用这个过滤后的图片索引去获取对应的图片路径。
- 使用该路径重新加载图片。
这正是我们之前所说的:不再直接索引 image_paths,而是先索引 filtered_image_idxs,再用它们的值去索引 image_paths。
这个改动的最终效果是,幻灯片放映只会显示经过过滤后的图片。
更新 load_image_paths 方法
接下来,我们需要更新 load_image_paths 方法,使其在加载图片路径后执行图片过滤。
请在 app.rs 中,找到 App 结构体的 load_image_paths 方法定义,替换为下面的代码:
1fn load_image_paths(&mut self, cx: &mut Cx, path: &Path) {
2        self.state.image_paths.clear();
3        for entry in path.read_dir().unwrap() {
4            let entry = entry.unwrap();
5            let path = entry.path();
6            if !path.is_file() {
7                continue;
8            }
9            self.state.image_paths.push(path);
10        }
11
12        let query = self.ui.text_input(id!(query)).text();
13        self.filter_image_paths(cx, &query);
14    }
之前,在方法末尾有以下四行代码:
1if self.state.image_paths.is_empty() {
2        self.set_current_image(cx, None);
3    } else {
4        self.set_current_image(cx, Some(0));
5    }
这些代码现在被替换成了:
1let query = self.ui.text_input(id!(query)).text();
2    self.filter_image_paths(cx, &query);
这段代码的作用是:
- 获取搜索框中的当前查询字符串。
- 使用当前查询字符串调用
filter_image_paths 方法对图片路径列表进行过滤。
这样做的目的是:每当图片列表更新时,都需要重新执行过滤。由于当前显示的图片基于过滤后的列表,因此设置当前图片的操作已在 filter_image_paths 方法中完成,这里就不再需要单独设置了。
更新绘制代码
最后,我们更新绘制代码以使用新的状态。
请在 app.rs 中,找到 ImageRow 结构体对应的 Widget trait 实现中的 draw_walk 方法定义,替换为下面的代码:
1fn draw_walk(
2        &mut self,
3        cx: &mut Cx2d,
4        scope: &mut Scope,
5        walk: Walk,
6    ) -> DrawStep {
7        while let Some(item) = self.view.draw_walk(cx, scope, walk).step() {
8            if let Some(mut list) = item.as_portal_list().borrow_mut() {
9                let state = scope.data.get_mut::<State>().unwrap();
10                let row_idx = *scope.props.get::<usize>().unwrap();
11
12                list.set_item_range(cx, 0, state.num_images_for_row(row_idx));
13                while let Some(item_idx) = list.next_visible_item(cx) {
14                    if item_idx >= state.num_images_for_row(row_idx) {
15                        continue;
16                    }
17
18                    let item = list.item(cx, item_idx, live_id!(ImageItem));
19                    let image_idx =
20                        state.first_image_idx_for_row(row_idx) + item_idx;
21                    let filtered_image_idx =
22                        state.filtered_image_idxs[image_idx];
23                    let image_path = &state.image_paths[filtered_image_idx];
24                    let image = item.image(id!(image));
25                    image
26                        .load_image_file_by_path_async(cx, &image_path)
27                        .unwrap();
28                    item.draw_all(cx, &mut Scope::empty());
29                }
30            }
31        }
32        DrawStep::done()
33    }
代码虽然比较多,但这里其实只有一个地方发生了变化:
1let filtered_image_idx =
2        state.filtered_image_idxs[image_idx];
3    let image_path = &state.image_paths[filtered_image_idx];
这和我们之前在 set_current_image 方法里做的一样:不再直接索引 image_paths,而是先通过 filtered_image_idxs 索引,再用该索引去访问 image_paths。
这个改动的最终效果是,图片网格只显示过滤后的图片。
处理事件
接下来,我们将更新事件处理代码,来响应用户在搜索框中搜索图片的行为。
在 app.rs 下,App 结构体中,找到 handle_actions 方法,加入以下代码:
1if let Some(query) = self.ui.text_input(id!(query)).changed(&actions) {
2        self.filter_image_paths(cx, &query);
3    }
这段代码的含义是,当组件 TextInput 中的内容发生变化时,我们获取到其中的内容 query,并且调用我们定义好的 filter_image_paths 来找到对应的图片。
检查到目前为止的进度
确保你当前在你的包目录下,然后运行:
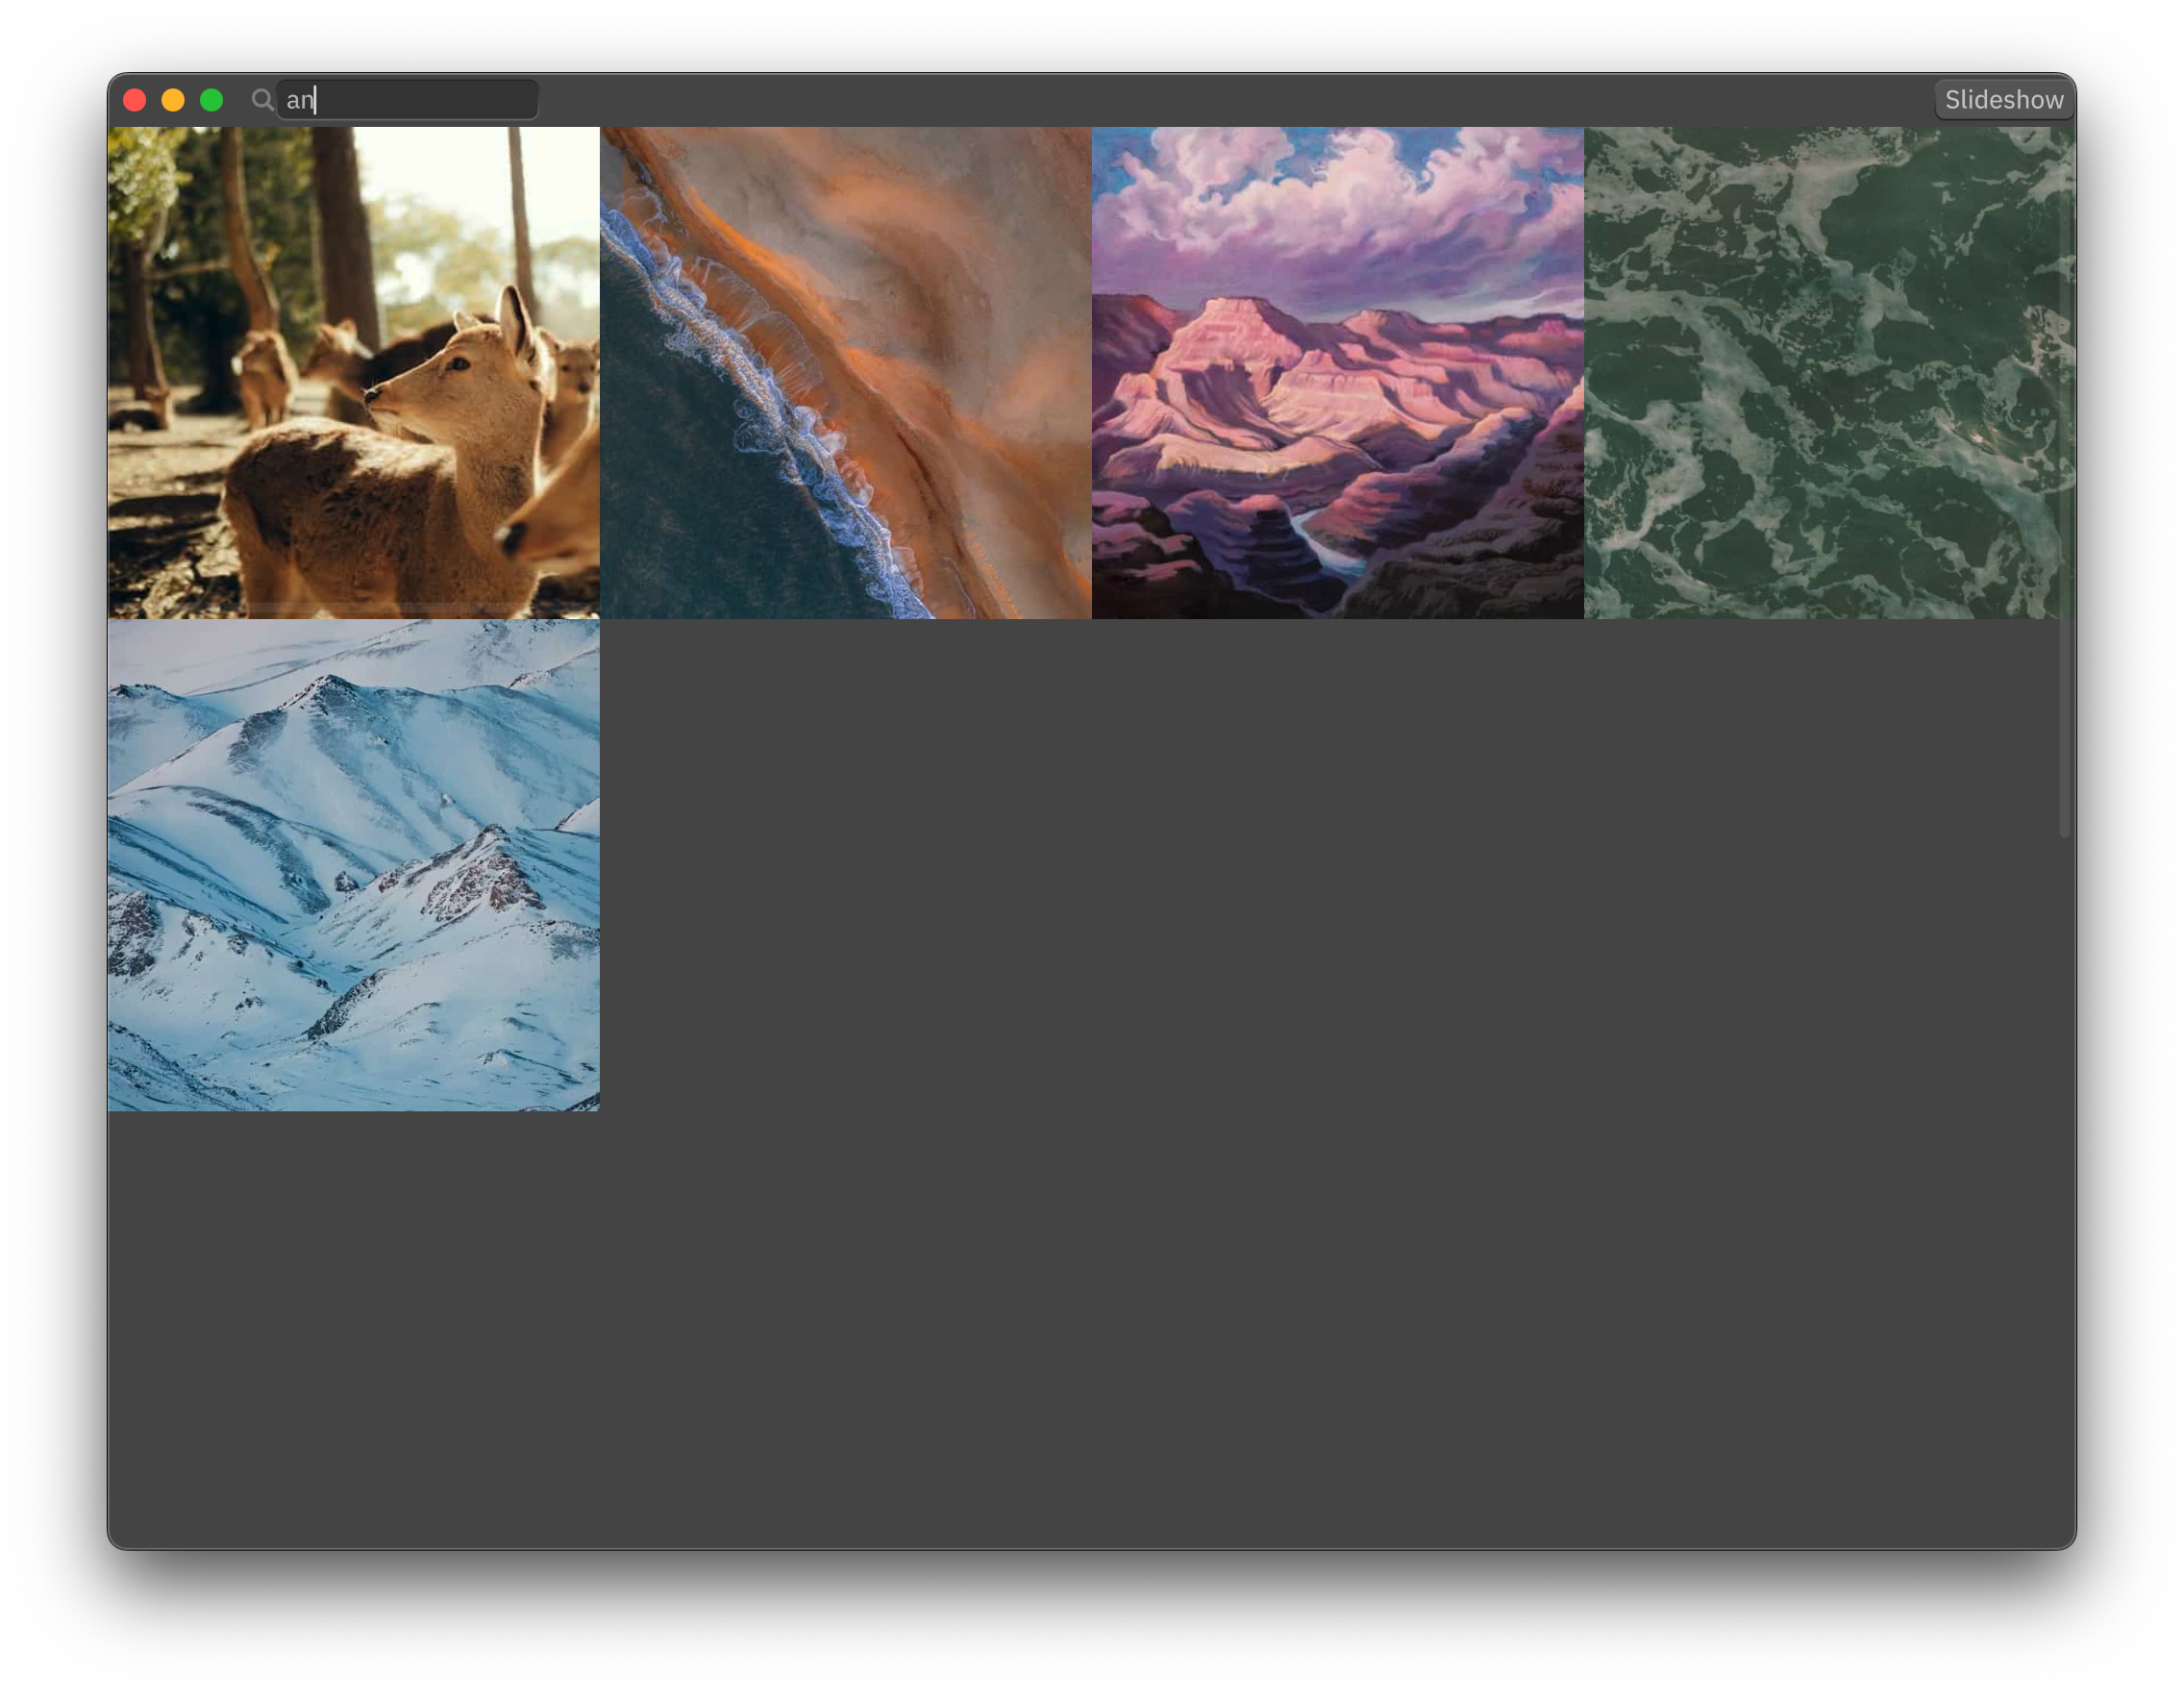
如果一切正常,你现在应该可以通过在顶部的搜索框中输入内容来过滤图片了:
下一步
至此,我们已经完成了整个应用程序的所有功能。接下来,我们会扩展一些内容,为我们的应用程序增加一些交互。